
An emergency heater callout in June costs three times what a pre-season inspection costs in April. A failed roof fan damper that lets rain into a food processing facility mid-winter can trigger a compliance shutdown. A warehouse full of workers in cold gear because the heating system was never tested before the cold hit is an operational failure that lands on the facilities manager’s desk. None of these are unforeseeable. All of them are preventable with a structured pre-winter check completed before temperatures drop.
This is that checklist. Work through it before April. Assign each item to a named person with a completion date.
The Checklist
1. Test Heater Fan Output at Full Capacity
Action: Power each heater fan to full output and hold for 15 minutes. Measure outlet air temperature and compare against the unit’s rated output. Inspect heating elements for dust and carbon build-up, which reduces output and creates fire risk. Verify thermostat calibration by checking that the unit cycles off at the setpoint temperature.

What failure looks like: Outlet temperature significantly below rated output, visible element discolouration, unit running continuously without cycling off, or unusual burning smell on first activation.
Action if failed: Clean elements with compressed air before applying heat. Recalibrate or replace thermostats. Units that fail output testing should be replaced before June, not after. For sizing guidance on replacement units, see how to size a heater fan for large industrial spaces.
2. Inspect Roof Fans for Moisture Ingress and Motor Condition
Action: Inspect each roof fan for corrosion on the housing, moisture ingress around the base flashing, and signs of water tracking into the roof cavity. Rotate the blade assembly by hand to check bearing condition. Check motor insulation resistance if a megger is available. Confirm damper blades open fully under fan operation and close completely when the fan is off.
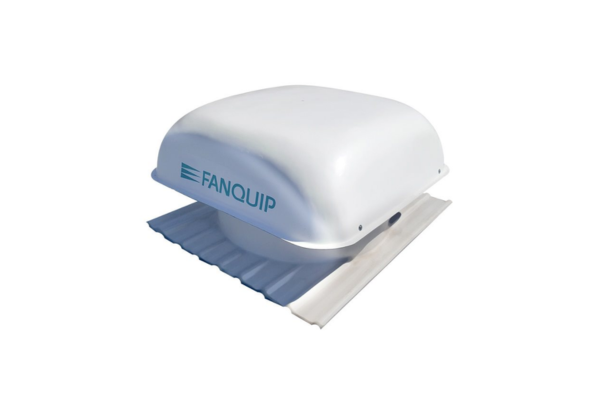
What failure looks like: Stiff or seized bearings, rust streaking on the housing interior, pooled water around the motor housing, damper blades that stick open in the closed position allowing cold air to funnel directly into the facility, or blades that stick closed and restrict winter exhaust.
Action if failed: Replace seized bearings before the wet season loads them further. Seal any flashing gaps with appropriate roof sealant. Sticky dampers can often be freed with a solvent and lubrication, but blades that are warped or cracked need replacement. For roof fan winter operation guidance, see roof ventilation during winter.
3. Verify Air Curtain Positioning, Velocity, and Coverage Width
Action: Measure the width of each entry point covered by an air curtain. Confirm the unit’s discharge width matches or exceeds the door opening. Activate the air curtain and use a handheld anemometer to measure discharge velocity at the midpoint and edges of the airstream. Check that the unit activates reliably on the door open signal and shuts off promptly on door close. Inspect mounting hardware for movement or settlement since last season.

What failure looks like: Discharge velocity below the manufacturer’s minimum specification, airstream that does not reach floor level across the full door width, units that fail to activate on the door trigger, or mounting that has shifted leaving gaps between the curtain coverage and the door frame.
Action if failed: Units with insufficient velocity may need motor servicing or replacement. Coverage gaps require repositioning or a wider unit. Trigger activation faults are typically wiring or sensor issues that need an electrician before the high-cycle winter period begins.
4. Replace Filter Fan Elements and Inspect Motor Condition
Action: Remove and inspect filter elements in all filter fans. Winter increases humidity, and higher humidity accelerates filter loading by binding dust particles together and increasing restriction. Replace any element that shows visible loading, discolouration, or deformation. While the element is out, inspect the fan motor, blade, and housing for dust build-up on the motor fins, which causes overheating under increased load.
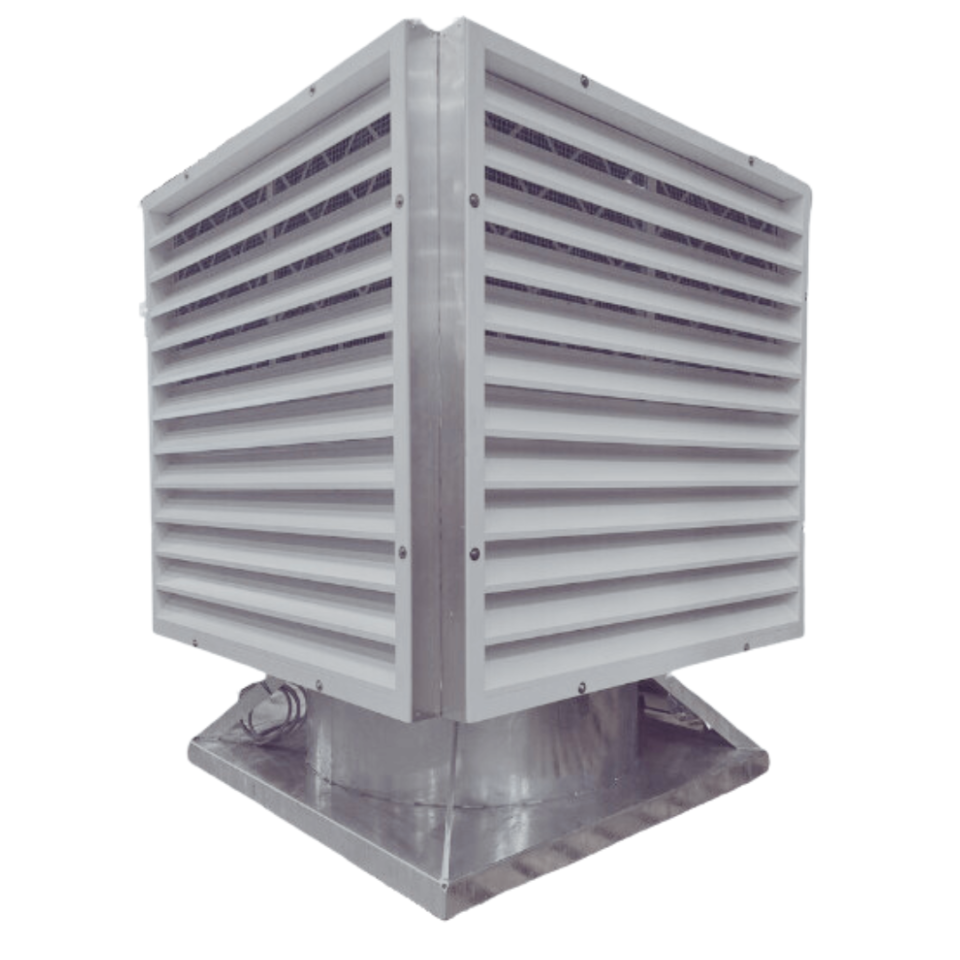
What failure looks like: Pressure drop across a loaded filter that reduces airflow below design levels, motor running hot due to restricted airflow or clogged cooling fins, or filter elements that have been compressed or torn and are no longer sealing correctly against the housing frame.
Action if failed: Replace loaded elements now rather than in July when lead times may be longer. Clean motor cooling fins with compressed air. Any filter housing with torn or deformed seals around the element frame needs frame inspection and resealing before the season.
5. Check CO Detector Placement and Test Calibration Near Gas-Fired Heaters
Action: For any facility using gas-fired heaters, confirm that toxic gas detectors are positioned within 1 to 3 metres horizontally from each gas appliance and at the manufacturer’s specified height. Test each detector using a certified calibration gas. Check that all audible and visual alarm functions activate correctly, and confirm units are well within their operating service life.
What failure looks like: Detectors positioned in uncirculated dead air pockets, sensors failing to respond to calibration gas, or units using outdated alarm thresholds. With Australia transitioning to the new Workplace Exposure Limits (WEL) framework on 1 December 2026, alarm systems set to legacy exposure standards are a significant compliance risk.
Action if failed: Reposition sensors according to AS/NZS 4641:2018 (Electrical Equipment for the Detection of Oxygen and Other Toxic Gases). Replace any expired or non-responsive units immediately, and ensure your gas safety contractor calibrates detector alarm setpoints to match the incoming 2026 WEL mandatory thresholds. Brief your floor wardens on the emergency response protocol before activating the main heating grids.
6. Inspect Roller Door Seals and Bottom Brush Strips
Action: Walk each roller door in the closed position and inspect the perimeter seal for tears, compression loss, and gaps. Check the bottom brush strip or rubber seal for contact across the full width of the door. Open and close each door under power and observe the seal engagement on the way down. On insulated doors, check the panel joints for seal strip integrity.
What failure looks like: Visible daylight around the door perimeter when closed, bottom seal that lifts off the floor at any point across the width, cold drafts detectable at door height during wind events, or panel joint seals that have shrunk and separated, creating air infiltration paths through the door body.
Action if failed: Replace bottom brush strips and perimeter seals before the cold hits. These are low-cost parts with high heat-retention return. Door panels with failed joint seals may need manufacturer attention if the seal is integrated into the panel structure.
7. Audit Portable and Axial Fan Condition on Construction and Mining Sites
Action: For construction sites and mining operations using portable or axial fans for confined space and temporary ventilation, inspect each unit for cable and plug integrity, blade condition, guard security, and motor start performance. Check that flexible ducting attached to portable units has no tears, collapsed sections, or disconnected joints. Test each unit at full speed and confirm airflow delivery reaches the intended zone without significant duct resistance loss.
What failure looks like: Cables with exposed conductors or damaged sheathing, blades with chips or cracks that create vibration and imbalance, guards that are loose or missing, motors that fail to start or trip on thermal overload within minutes of running, or duct runs with collapsed or disconnected sections that redirect airflow to unintended areas.
Action if failed: Remove any unit with cable or guard defects from service immediately. Blade damage requires replacement, not field repair. Duct integrity failures are generally straightforward to fix with duct tape and clamps, but collapsed ducting that is kinked by compression needs replacement. For a broader look at ventilation risk factors in confined construction environments, see risk factors for tunnelling in construction.
8. Review Fan Belt, Bearing, and Guard Condition Across the Facility
Action: For any belt-driven fan in the facility, check belt tension and condition. A belt that is glazed, cracked, or fraying will fail under the increased load of winter operation. Check bearing condition on all direct-drive units by listening for roughness or intermittent noise during rotation and checking for abnormal heat at bearing housings during operation. Confirm all guards are in position and secured. Order replacement belts, bearings, and guards for any unit showing wear, using Fanquip’s replacement parts range to source compatible components.
What failure looks like: Belt squeal on start-up or under load, visible glazing or cracking on the belt surface, belt tension that cannot be corrected within the adjustment range of the motor mount, bearings that produce audible roughness or run significantly above ambient temperature, or guards with missing fasteners or deformed panels.
Action if failed: Replace worn belts before the season rather than carrying spares and reacting to a failure. A belt failure on a heater fan in a food processing facility in July is a compliance event, not just a maintenance task. Order parts now. See maintenance tips for industrial fans for servicing intervals across different fan types.
9. Document Results and Set Re-Inspection Dates
Action: Record the outcome of each checklist item against the specific unit, location, and inspector. Note any items that were borderline rather than failed — these should be re-inspected at the midpoint of winter rather than waiting for the post-season review. Create a simple fault register for any items that require corrective action and track them to completion.
What failure looks like: No documentation from last season’s check, no baseline to compare current condition against, and no record to produce if a ventilation failure leads to a regulatory inspection or incident investigation.
Action if failed: Start the register now with this season’s results. Even a spreadsheet with unit ID, location, inspection date, result, and action taken gives you a defensible maintenance record. Schedule the midwinter re-inspection of borderline items in the calendar before you close out this checklist.
Pre-Winter Checklist Summary
| Item | Product Type | Key Action | Completion Date | Inspector |
| 1 | Heater fans | Output test, element inspection, thermostat calibration | ||
| 2 | Roof fans | Moisture ingress, bearing check, damper operation | ||
| 3 | Air curtains | Coverage width, velocity test, trigger activation | ||
| 4 | Filter fans | Element replacement, motor fin cleaning | ||
| 5 | CO detectors | Calibration test, placement check, service life | ||
| 6 | Roller door seals | Perimeter seal, bottom strip contact, panel joints | ||
| 7 | Portable and axial fans | Cable, blade, guard, duct integrity | ||
| 8 | Belts, bearings, guards | Tension, condition, guard security, parts order | ||
| 9 | Documentation | Fault register, midwinter re-inspection scheduled |
Get a Pre-Winter Assessment From Fanquip
With over 40 years of experience delivering industrial ventilation solutions across Australia, Fanquip can conduct a site review covering heater fans, roof fans, air curtains, filter fans, and extraction systems before the cold season. From assessment through to supply, installation, and servicing, our team manages the full scope. Contact us to arrange a pre-winter assessment and ensure your facility goes into winter with every system confirmed ready, not assumed ready.